
To adjust sprinkler heads, first identify whether you have a spray head, a fixed nozzle, or a rotor, then run the affected zone and alter only the controls intended for that head type. Aim the water where it belongs, refine the coverage pattern or radius where the model allows it, and check the result with all heads in that zone operating together.
The useful standard is not simply whether each head sprays. The zone should distribute water reasonably evenly, without obvious dry spots, overspray, runoff, or water being applied beyond the planted area.
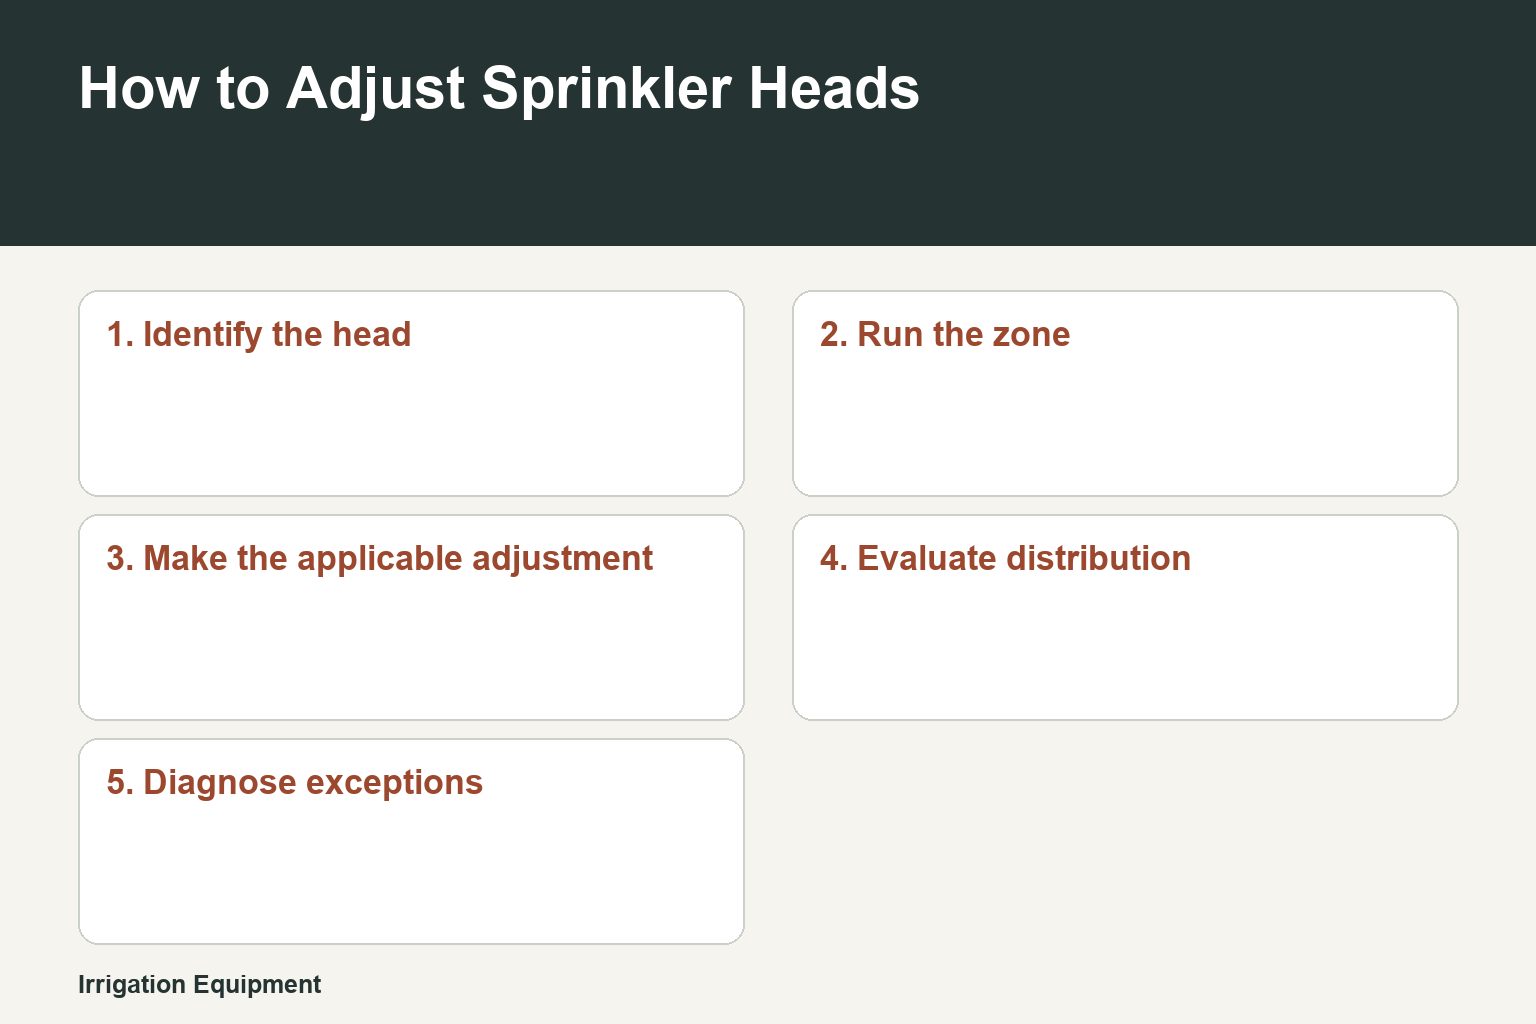
- Identify the headSeparate covered spray models from fixed nozzles and rotors before selecting an adjustment method.
- Run the zoneObserve the head while all sprinklers on the operating lateral are running.
- Make the applicable adjustmentAim the stem and use only the radius or collar controls provided on that model.
- Evaluate distributionCheck the planted area and compare locations with catch containers when coverage is uncertain.
- Diagnose exceptionsIf delivery remains uneven, investigate clogs, wear, leaks, restrictions, or incompatible nozzle sizes.
The head is adjusted as part of an operating zone: its aim and available controls affect the pattern, while system conditions can still limit water delivery.
Identify the sprinkler head before making an adjustment
Adjustment methods are not interchangeable. Rain Bird’s spray-head guidance distinguishes covered spray models with stem aiming, a radius screw, and an adjustable nozzle collar from fixed nozzles and rotors. That distinction matters because a control that changes one style of head may not exist, or may serve the same purpose, on another. I would treat the visible head and nozzle as the starting point rather than assuming every sprinkler uses the same screw adjustment.
1Expose and inspect the head
Note whether the head is a covered spray model, a fixed-nozzle spray head, or a rotor. Look for the adjustment features supplied on that particular head.
2Confirm the intended control
Use the manufacturer’s instructions for the specific model before turning a screw or collar. Do not assume a direction of rotation or an adjustment range is universal.
| Head or component | What can be identified | Adjustment takeaway |
|---|---|---|
| Covered spray model | Stem aiming, radius screw, and adjustable nozzle collar may be present | Use the controls supplied for that model and confirm its instructions. |
| Fixed nozzle | A distinct fixed-nozzle configuration | Do not presume it has the same adjustable features as a covered spray model. |
| Rotor | A different head category from spray models | Use rotor-specific instructions rather than a spray-head method. |
Sources: Rain Bird Spray Heads Manual
Adjust the pattern while the zone is operating
Run the relevant zone so you can see the actual spray pattern and how neighboring heads interact. On covered spray models, the stem can be aimed and the model’s radius screw and adjustable nozzle collar can be used for their intended adjustments. Make one small change at a time, then watch the resulting coverage before changing another setting. Fixed nozzles and rotors require their own model-specific procedures.
1Aim the spray
Set the head’s direction so water reaches the intended planted area rather than paving, buildings, or other non-planted surfaces.
2Refine the adjustable coverage
Where the head provides a radius screw or adjustable collar, use that feature according to its model instructions and observe the new pattern.
3Recheck adjacent coverage
Look beyond the one head: the practical result depends on how its delivery overlaps with the rest of the operating zone.
- Avoid treating a change to one head as proof that the entire zone is now balanced.
- Do not apply a covered-spray adjustment method to a fixed nozzle or rotor without confirming the model’s instructions.
Sources: USDA NRCS National Engineering Handbook, Part 652 Irrigation Guide · Rain Bird Spray Heads Manual
Judge coverage across the whole zone, not head by head
A sprinkler zone is a distribution system. Pressure and discharge should be evaluated while all heads on the operating lateral are running, because worn nozzles, clogs, leaks, and incompatible nozzle sizes can change delivery. If coverage still looks uneven after a basic adjustment, catch containers placed around the zone can compare where water is actually landing. This separates a simple aiming issue from a system condition that adjustment alone will not solve.
- Compare wetness in multiple parts of the zone rather than judging only the area beside one head.
- Investigate physical causes when a head’s output differs markedly from nearby comparable heads.
- Check pressure on both sides of a filter when a restriction is suspected.
| Observation while zone runs | Likely implication | Useful next check |
|---|---|---|
| One area receives visibly less water | Distribution may be uneven | Compare delivery across the zone with catch containers. |
| A head differs from comparable nearby heads | A clog, wear, leak, or nozzle mismatch may affect delivery | Inspect the head and related system condition. |
| Restricted flow is suspected near filtration | A filter restriction may be contributing | Check pressure on either side of the filter. |
| Water leaves the planted area or runs off | Application may exceed useful landscape use | Reassess aiming, coverage, and irrigation scheduling. |
Sources: USDA NRCS National Engineering Handbook, Part 652 Irrigation Guide
Match the adjustment result to the landscape’s water needs
The right spray reach is only part of the outcome. Water applied to the landscape should match plant needs and the soil’s ability to store water, while avoiding runoff and overwatering. After correcting obvious overspray or gaps, observe whether water runs off or accumulates where it is not useful. Those signs may call for a change in irrigation scheduling or system evaluation, not merely further head adjustment.
- Coverage that extends onto hard surfaces can contribute to wasted water and runoff.
- A uniformly wet surface is not by itself a scheduling target; plant needs and soil storage also matter.
- Sediment accumulation can justify using the system’s flushing provisions where provided.
Sources: USDA NRCS National Engineering Handbook, Part 652 Irrigation Guide
Know when adjustment is not the fix
A poorly performing head is not always misadjusted. Nozzle wear, clogging, leaks, restrictions, and mismatched nozzle sizes can alter how water is delivered. In cold conditions, drainage provisions may be needed where the manufacturer recommends them or where freezing is a hazard. These are maintenance or system-design matters, so changing the aim or radius control will not correct their underlying cause.
Sources: USDA NRCS National Engineering Handbook, Part 652 Irrigation Guide
Frequently Asked Questions
Should I adjust sprinklers with the water on?
Run the affected zone when evaluating the spray pattern and distribution. System pressure and discharge are best assessed with all heads on the operating lateral running, because one head’s performance is part of the whole zone.
Why does one sprinkler still look weak after I aim it?
A weak-looking pattern can result from clogging, nozzle wear, a leak, a restriction, or incompatible nozzle sizes. Aiming changes direction, but it does not correct those delivery problems.
How can I tell whether coverage is even?
Place catch containers in different parts of the zone and compare the collected water. This provides a more useful picture of spatial distribution than watching a single sprinkler.
Do fixed nozzles adjust like covered spray heads?
No. Covered spray models may have stem aiming, a radius screw, and an adjustable nozzle collar, while fixed nozzles and rotors differ. Identify the installed head and use its specific instructions.
If water runs onto pavement, should I only reduce the radius?
Reducing reach may help if the head has that adjustment and coverage remains adequate. Also check the aim and the overall zone distribution, because eliminating overspray should not create a dry planted area.
Final Thoughts
Adjust the correct control for the installed head, then judge the result with the whole zone running. If the pattern remains uneven, look for delivery or maintenance issues rather than forcing a further adjustment.