
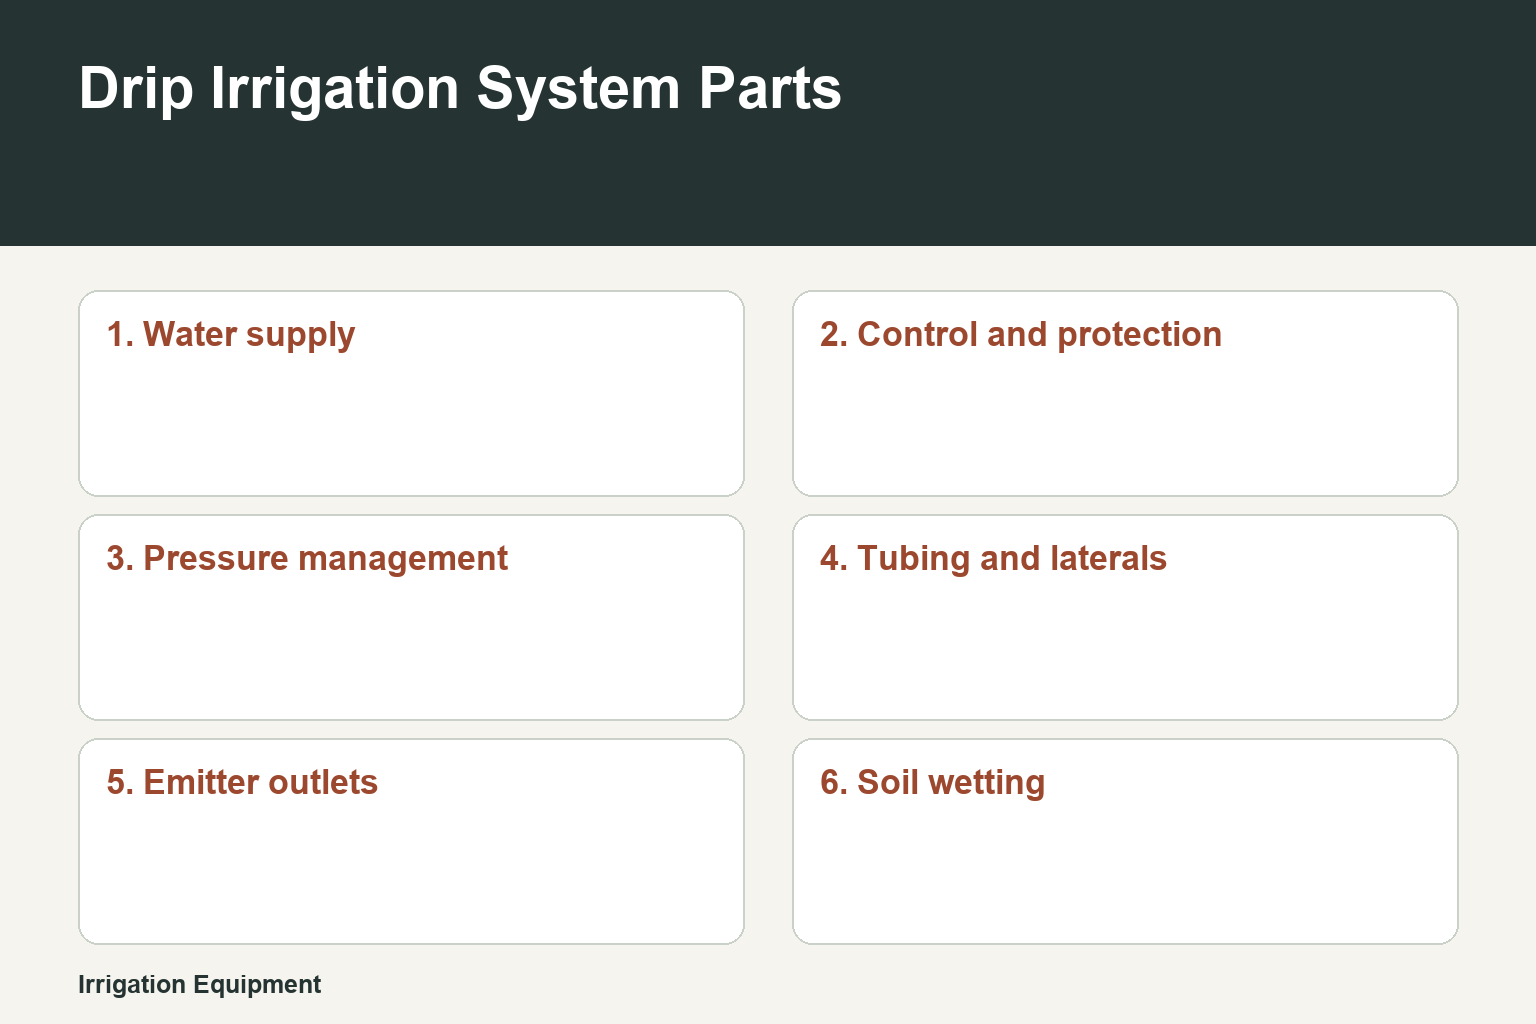
A drip irrigation system moves water from a supply connection through control, filtering and pressure-management parts, then along tubing to emitters that release small amounts near plant roots. The essential chain is supply, shutoff or controller, filter, pressure regulator, distribution tubing, and emitters; each part protects or directs the next one.
The final emitter is only one part of the system. Good results also depend on matching the layout and delivery points to the plants, soil, available flow, and changes in elevation.
- Water supplyWater enters the irrigation layout.
- Control and protectionA shutoff or control manages flow; filtration protects small passages.
- Pressure managementA regulator prepares water for distribution tubing.
- Tubing and lateralsFixed lines carry water across the planting area.
- Emitter outletsOutlets apply small flows near plant roots.
- Soil wettingWater spreads through soil by capillary action and gravity.
Water moves through fixed supply and distribution parts; emitters release it, while the soil spreads it through the root area.
The core parts and the water path
Water travels through a connected path rather than directly from a hose to every plant. Supply components bring water in; a shutoff or automated valve controls when it enters the system. Filtration protects the small emitter passages, and a pressure regulator manages pressure before water reaches the distribution tubing and laterals. Emitters are the outlets that apply water at the planting area. I find it most useful to think of these as a chain: a restriction or mismatch upstream can affect every outlet downstream.
| Part | Role in the system | What it affects |
|---|---|---|
| Supply connection | Brings water into the layout | Available water for the zone |
| Shutoff or controller | Starts or stops water delivery | When irrigation runs |
| Filter | Screens material before small passages | Emitter clogging risk |
| Pressure regulator | Manages pressure before distribution | Delivery consistency |
| Tubing and laterals | Carry water through the planted area | Where outlets can be placed |
| Emitters | Release water near roots | Location of application |
Sources: USDA NRCS National Engineering Handbook, Part 652, sections 652.0603 and 652.0900
How drip irrigation wets the root area
Microirrigation applies water slowly at or below the soil surface. From each outlet, water spreads through the soil by capillary action and gravity rather than covering the entire surface like a sprinkler. The resulting wetted area is not fixed: soil, run time, emitter flow, spacing, and the plant’s root area all change it. Check below the surface to see where water is actually reaching.
Sources: USDA NRCS National Engineering Handbook, Part 652, sections 652.0603 and 652.0900
Choose the emitter style for the planting pattern
The delivery end should follow the way plants are arranged. Point emitters target separately spaced plants, while inline-emitter tubing fits planted rows. Multioutlet emitters divide water among several delivery points. Beds, vegetables, shrubs, and containers can suit drip; turf may require a different coverage approach.
| Planting layout | Suitable delivery option | Reason |
|---|---|---|
| Separately spaced plants | Point emitters | Targets individual plants |
| Continuous planted rows | Inline-emitter tubing | Provides regularly spaced outlets |
| Several nearby delivery points | Multioutlet emitter | Divides delivery among outlets |
Sources: USDA NRCS National Engineering Handbook, Part 652, sections 652.0603 and 652.0900 · EPA WaterSense homeowner microirrigation guide
Plan zones around plant needs and system limits
Put plants with similar water needs, soil conditions, and sun exposure together. Within a zone, total emitter demand needs to fit the available water flow and the product’s stated limits. Elevation and pressure variation can make delivery uneven; pressure-compensating emitters can help only within the operating range specified by their manufacturer.
Sources: USDA NRCS National Engineering Handbook, Part 652, sections 652.0603 and 652.0900 · EPA WaterSense homeowner microirrigation guide
Keep the small passages working
Filters and flushing help keep a drip system working because small passages can clog and installation debris should be flushed out. During use, inspect for leaks, clogging, and rodent damage. Slow application does not automatically prevent excess watering, so adjust operation based on the wetting observed around roots rather than assuming a low-flow system cannot overwater.
Sources: USDA NRCS National Engineering Handbook, Part 652, sections 652.0603 and 652.0900
Frequently Asked Questions
Do all drip systems need a filter?
Filtering is used to protect the system’s small passages from material that can contribute to clogging.
What is the difference between distribution tubing and an emitter?
Tubing carries water through the layout. An emitter is the outlet that releases water at a selected plant or position along a row.
Can one irrigation zone serve every plant in a yard?
Usually, zones should group plants with similar water needs, soil, and sun exposure rather than combining unlike planting areas.
Why should I look below the soil surface?
Surface appearance does not fully show the wetted root area. Soil inspection reveals where the slow application has moved.
Final Thoughts
Build the system as a complete water path, then select emitters and zones around the actual planting pattern. After installation, use the underground wetting pattern—not assumptions about drip—to guide adjustments.