To install drip irrigation, plan zones around plants with similar water needs, connect the water supply to shutoff, filtration and pressure-control components, then run distribution tubing and place emitters at the root zones. Flush the lines before closing them, operate the system, and check below the soil surface to confirm that water is reaching roots rather than escaping or moving too deeply.
The key is to design for the plants and soil, not simply to put an emitter beside every plant. In my view, the most useful planning decision is whether you are watering separate plants or a continuous row: that choice determines whether point emitters or emitterline makes more sense.
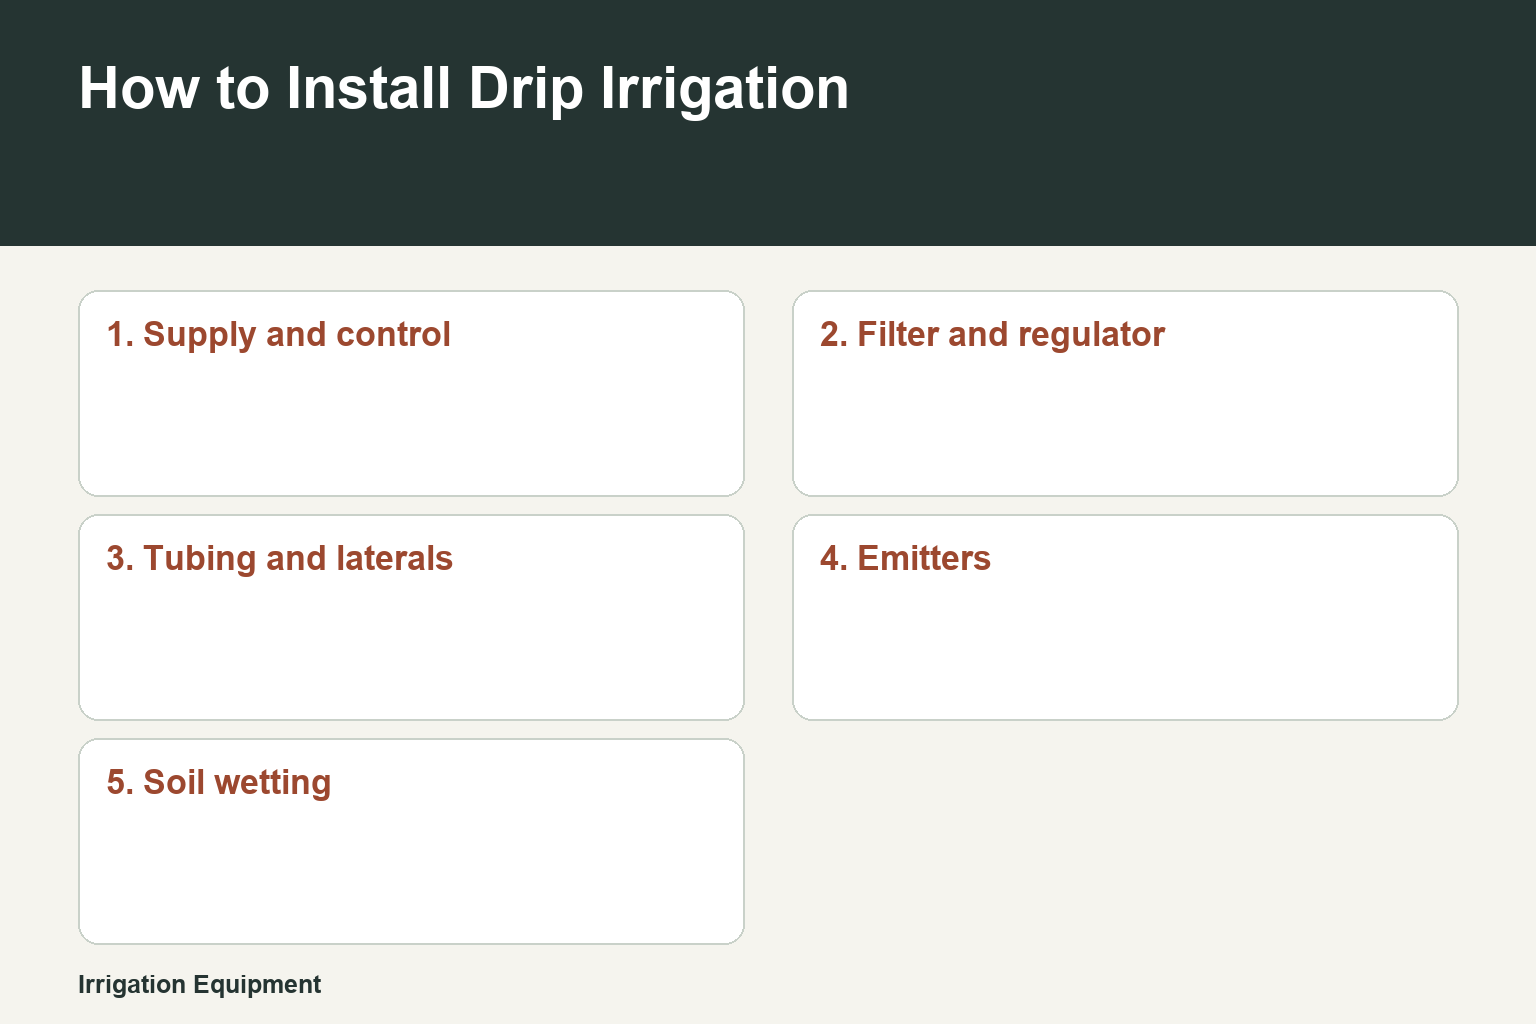
- Supply and controlA supply connection feeds a shutoff or automated valve.
- Filter and regulatorWater passes through filtration and pressure regulation before small passages.
- Tubing and lateralsDistribution tubing carries water to the planned plant groups.
- EmittersPoint, inline or multioutlet emitters release small flows at root-zone locations.
- Soil wettingWater spreads through soil by capillary and gravity movement; inspect below the surface to assess it.
The water path is fixed through the system components; water, not the tubing or emitters, moves from the supply to the root-zone soil.
Plan the watering zones before buying or cutting tubing
Drip irrigation applies small flows slowly at or below the soil surface, where water spreads through capillary and gravity movement. Because wetting pattern depends on soil, run duration, emitter flow, emitter spacing and the plant’s root area, begin by grouping plants with similar water needs, soil conditions and sun exposure. Beds, vegetable rows, shrubs and containers are common drip candidates; turf may require a different coverage approach. Identify the available water supply and make sure the combined demand of the proposed emitters fits available flow and the product’s stated limits.
1Map plant groups
Separate areas whose plants, soil or sun exposure call for different watering needs. Treat each group as a potential irrigation zone.
2Choose the delivery pattern
Use individual delivery points for separated plants. Use regularly spaced inline emitters when watering a row or a uniformly planted bed.
3Lay out the tubing route
Sketch where the supply connection, control point, main distribution tubing and laterals will run. Include an accessible line end for flushing.
- Place water where active roots can use it rather than trying to wet every inch of a landscape.
- Account for changes in elevation, because pressure variation can affect how evenly emitters deliver water.
- If using pressure-compensating emitters, keep operating pressure within the manufacturer’s specified range.
| Planning question | Decision to make | Why it affects installation |
|---|---|---|
| Which plants share a zone? | Group similar water needs, soil and sun exposure. | One valve schedule should suit the plants it serves. |
| Are plants separate or in a row? | Choose point emitters for separated plants or inline emitters for regular rows. | The delivery pattern follows the planting pattern. |
| Does the route change elevation? | Account for pressure variation and use products within their stated operating range. | Uneven pressure can affect uniform delivery. |
Sources: USDA NRCS National Engineering Handbook, Part 652, sections 652.0603 and 652.0900 · EPA WaterSense homeowner microirrigation guide
Build the supply connection in the right order
A complete microirrigation system has a supply connection, a shutoff or control, filtration, pressure regulation, distribution tubing or laterals, and emitters. Filtration and regulation belong upstream of the small emitter passages: filtering helps prevent blockage, while pressure control supports more consistent delivery. A timer or soil-moisture control can automate a valve, but it does not replace checking whether the soil is actually being wetted appropriately.
1Turn off the water and attach the supply-side components
With the supply off, install the system’s connection and arrange the shutoff or control, filter and pressure regulator before the distribution tubing, following the fittings and orientation specified for the equipment.
2Run the distribution tubing to each zone
Connect tubing from the regulated supply to the planned plant groups. Add branches or laterals only where the layout calls for them, avoiding needless joins that can become leak points.
3Close the layout only after flushing
Leave line ends open while the system is flushed so installation debris can exit. Then cap or close the ends using components intended for that tubing system.
Sources: USDA NRCS National Engineering Handbook, Part 652, sections 652.0603 and 652.0900
Match emitter style to the planting layout
Emitter selection is a layout decision, not a claim that one style is inherently better. Point emitters direct water to individual, spaced plants. Inline emitters place outlets at regular intervals and fit rows. Multioutlet emitters split delivery among several locations. Position delivery so it serves the root zone, then judge the result by observing wetting beneath the surface rather than relying on a wet-looking top layer.
- Avoid assuming that a low-flow system cannot overwater; water can still move below the root zone.
- Use the manufacturer’s specifications when selecting emitter flow, spacing and compatible tubing.
| Planting situation | Suitable emitter arrangement | Placement focus |
|---|---|---|
| Spaced shrubs or individual plants | Point emitters | Target each plant’s root zone. |
| Vegetable row or regular bed planting | Inline emitters | Use the regular outlet pattern along the row. |
| Several nearby delivery points from one source | Multioutlet emitter | Divide delivery among the intended locations. |
Sources: USDA NRCS National Engineering Handbook, Part 652, sections 652.0603 and 652.0900 · EPA WaterSense homeowner microirrigation guide
Start up slowly and verify the wetting pattern
After the system is assembled and flushed, run each zone and inspect it. Look for leaks, confirm that emitters are delivering water, and examine the soil below the surface near representative plants. The goal is root-zone wetting, not runoff or water that moves beyond the useful root area. Adjustments may involve the layout, emitter arrangement or watering schedule, but the correct response depends on the observed soil wetting and the equipment’s stated operating limits.
1Operate one zone at a time
Open the water or run the control for the zone and inspect connections, tubing and emitters for leakage or missed delivery.
2Check below the surface
Examine whether moisture has reached the intended root area. Surface appearance alone does not show the full wetting pattern.
3Monitor over time
Periodically check for clogs, leaks and damage, including damage from rodents. Reassess zones as plants grow or planting arrangements change.
Sources: USDA NRCS National Engineering Handbook, Part 652, sections 652.0603 and 652.0900 · EPA WaterSense homeowner microirrigation guide
Use automation as a control tool, not a substitute for inspection
A time clock or soil-moisture control can automate valves, which can make routine irrigation easier to manage. Still, automation cannot by itself show whether emitters are clogged, a line is leaking, or water is moving too deeply. Periodic inspection remains part of effective drip irrigation, especially after installation and whenever plant conditions or the landscape layout changes.
- Inspect filters and small emitter passages as part of ongoing maintenance.
- Watch for pressure-related unevenness where zones have elevation changes.
- Check the system for leaks, clogging and physical damage rather than assuming a scheduled zone is working correctly.
Sources: USDA NRCS National Engineering Handbook, Part 652, sections 652.0603 and 652.0900
Frequently Asked Questions
Can drip irrigation be installed for a vegetable garden?
Yes. Vegetable beds and rows are suitable uses for microirrigation. Inline emitters are particularly suited to regularly spaced row plantings, while individual emitters fit more widely spaced crops or plants.
Do I need a filter for drip irrigation?
Filtration is a core part of a microirrigation system because small emitter passages can clog. Flush installation debris from open line ends before closing the system, and continue to monitor for clogging during use.
Should every plant have its own zone?
Usually, group plants by similar water needs, soil and sun exposure instead. Separate zones are useful when those conditions differ enough that the plants should not be irrigated alike.
Why is the soil surface dry when the system is running?
Drip irrigation is intended to deliver water slowly into the root zone, and the surface does not necessarily show the full wetting pattern. Check below the surface near representative plants before deciding whether the system needs adjustment.
Can a drip system overwater plants?
Yes. Low flow does not rule out overwatering or deep percolation below the root area. Confirm how the soil is wetting and adjust the system based on that observation and the equipment’s operating guidance.
Final Thoughts
Install drip irrigation as a planned root-zone system: group compatible plants, protect the small passages with filtration, flush before closing lines, and verify moisture below the surface after startup. That final soil check is what turns a connected set of tubes into a working irrigation layout.