
To install a sprinkler system, first map the areas to be watered and verify that the water source can support the planned zones. Then install the supply protection and system components specified for the chosen system, test each zone while it runs, correct coverage or flow problems, and set watering around plant and soil needs rather than a fixed habit.
The key decision comes before digging or connecting anything: a layout must suit the available water delivery. I would treat the flow-and-pressure check as a design gate, because a neat-looking layout cannot compensate for a zone that receives uneven water.
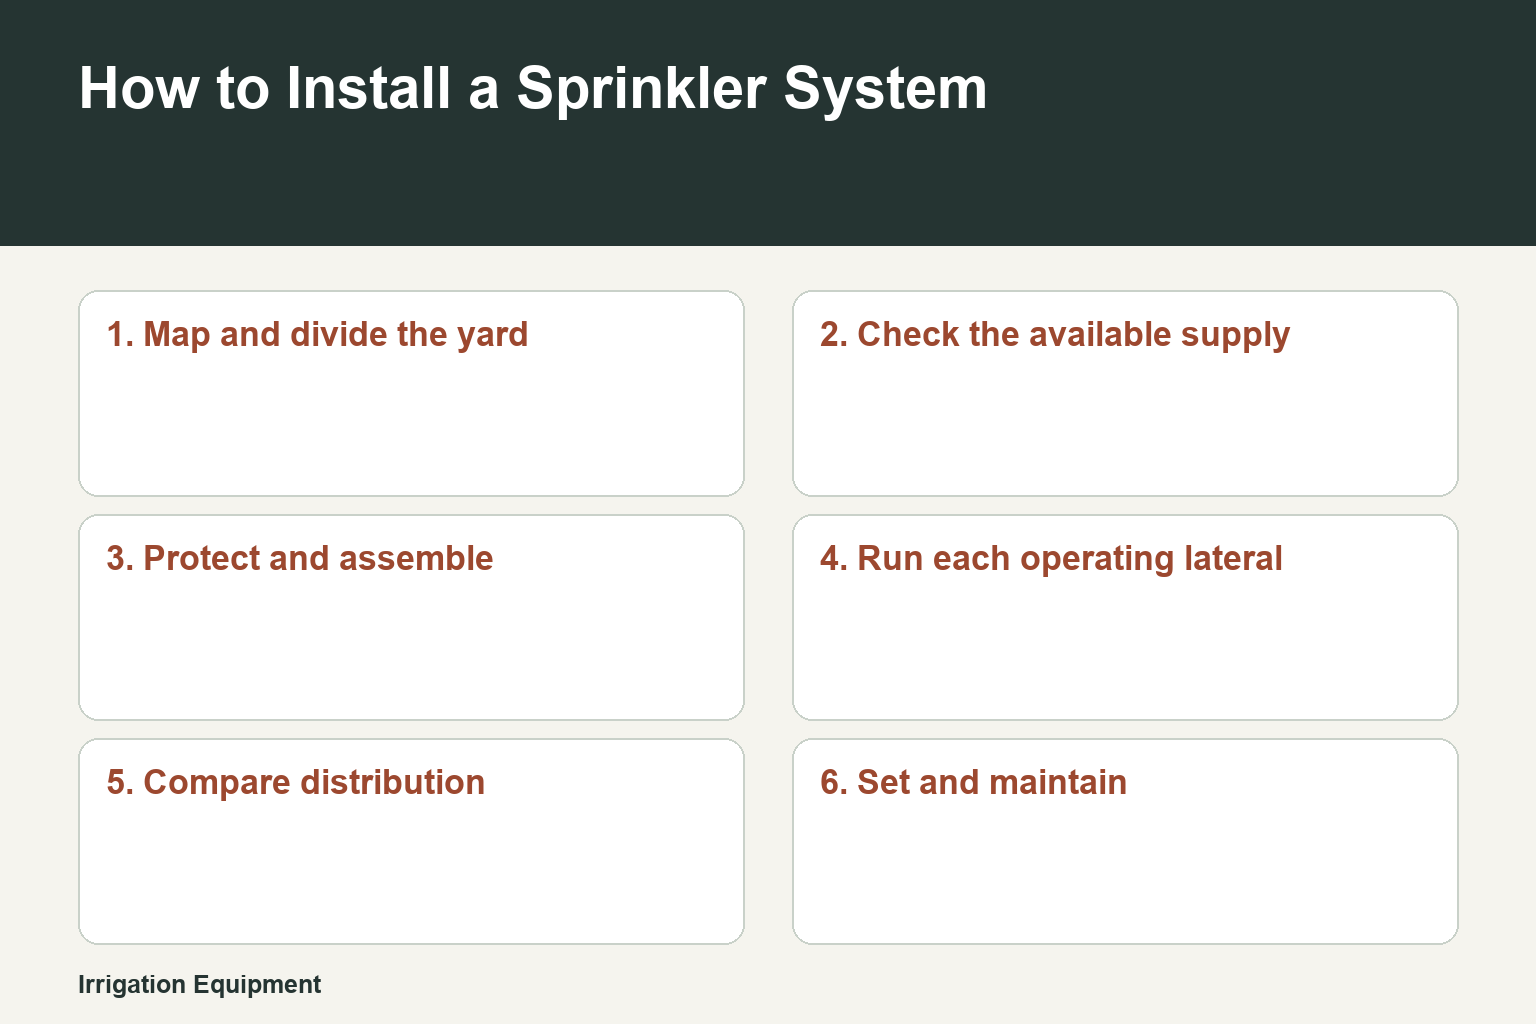
- Map and divide the yardIdentify irrigated areas, water connection, and zone boundaries.
- Check the available supplyEstablish whether the planned operating zone suits available flow and pressure.
- Protect and assembleFit appropriate reverse-flow protection and install the selected system's components.
- Run each operating lateralInspect delivery with every head on that lateral operating.
- Compare distributionUse catch containers to find differences across the watered area.
- Set and maintainMatch watering to plant and soil needs, then recheck for wear, clogs, leaks, and restrictions.
The design is checked against water delivery before installation, then the completed system is evaluated with each operating zone running.
1. Plan the system around the yard and water source
Sketch lawns, beds, slopes, hard surfaces, hose outlets or the intended water connection, and areas that should stay dry. Group areas with similar watering needs into zones. Before finalizing sprinkler locations, measure the available outlet flow with a timed container test for a hose-connected kit, and confirm that the proposed connection has the required backflow protection and meets local plumbing requirements. Available flow and pressure, along with placement, determine whether coverage will be adequate.
1Map irrigation areas
Before digging, identify buried utilities. Then mark planting areas, boundaries, slopes, paths, buildings, and the water connection, using the map to separate areas that should not run at the same time.
2Check the water supply before choosing the layout
For a hose-connected system, use the timed-container method specified by the kit to establish outlet flow. Do not assume a connection can supply every head at once.
3Choose the system instructions that apply
Use the installation directions for the exact kit or components being installed. The Rain Bird 32ETI reference, for example, is for a hose-connected rotary-head kit and does not set universal spacing or pressure rules.
- Keep zone boundaries practical for the route of the supply line and controls.
- Plan drainage where the manufacturer recommends it or where freezing conditions make trapped water a concern.
- Include a way to flush the system where sediment is likely to collect.
| Decision | What to establish | Why it changes the installation |
|---|---|---|
| Water connection | Available outlet flow and applicable plumbing requirements | It determines whether the planned zone can operate as intended. |
| Supply protection | Appropriate backflow protection | It protects the water supply from reverse flow. |
| Zone layout | Areas with similar watering needs and practical supply routes | It lets the system apply water in manageable sections. |
| Seasonal conditions | Whether freezing or sediment accumulation is likely | It determines whether drainage and flushing provisions are needed. |
Sources: USDA NRCS National Engineering Handbook, Part 652 Irrigation Guide · Rain Bird 32ETI Self Install Automatic Sprinkler System Installation Instructions
2. Protect the supply and lay out the components
Install the appropriate equipment to prevent irrigation water from flowing back toward the water supply, then place the supply line, control equipment, laterals, and sprinklers according to the applicable product design. Keep the layout accessible enough to inspect and maintain. A sprinkler system is not simply a row of heads: water must arrive at each operating lateral at a workable, reasonably consistent condition for the selected components.
1Fit supply protection first
Use the appropriate reverse-flow protection at the water connection and satisfy local plumbing requirements before putting the irrigation system into service.
2Route and assemble the distribution system
Install the pipes or hose, connections, valves or timer equipment, and sprinklers as directed for the chosen product. Keep components intended for service, such as filters, accessible.
3Provide for seasonal and sediment conditions
Use the manufacturer-recommended drainage approach where needed, especially where freezing is a hazard. Include flushing provisions if sediment can accumulate.
Sources: USDA NRCS National Engineering Handbook, Part 652 Irrigation Guide · Rain Bird 32ETI Self Install Automatic Sprinkler System Installation Instructions
3. Position heads for the coverage the zone can actually support
Place and aim sprinklers only after the zone design is tied to the water available when that zone operates. Coverage is affected by placement as well as water conditions. Do not borrow head spacing, elevation allowances, or capacity limits from a different product: those are system-specific design limits, not general installation rules.
- Keep sprays and rotating streams within the intended irrigated area rather than on paving or structures.
- Evaluate one operating zone at a time; a zone is the relevant unit for water delivery.
- Use the exact product instructions for head adjustment and placement details.
Sources: USDA NRCS National Engineering Handbook, Part 652 Irrigation Guide · Rain Bird 32ETI Self Install Automatic Sprinkler System Installation Instructions
4. Flush, run, and evaluate every zone
Before calling the installation finished, run each zone and inspect it while all heads on that operating lateral are running. Look for leaks, blocked or worn nozzles, incompatible nozzle sizes, and uneven distribution. Catch containers placed across the watered area provide a practical comparison of how much water reaches different locations; they reveal distribution differences that watching a single head can miss.
1Flush as the system design allows
Use the planned flushing provisions to clear sediment before relying on normal irrigation operation.
2Operate one complete zone
With all heads on that lateral running, inspect for leaks and compare the behavior across the zone rather than judging only the first sprinkler.
3Compare water caught across the area
Set catch containers at multiple locations and compare their collected water. Investigate meaningful differences in distribution before setting a routine schedule.
4Inspect filters when delivery seems restricted
Compare pressure on the two sides of a filter to help identify a restriction. Stop operation and follow the component instructions before servicing it.
| Observation during operation | Likely issue to investigate | Useful next check |
|---|---|---|
| Uneven amounts in catch containers | Nonuniform spatial distribution | Compare locations across the zone and review placement. |
| Weak or inconsistent delivery | Restriction, leak, or component issue | Inspect nozzles, connections, and filter condition. |
| Different behavior among heads | Clogging, wear, or incompatible nozzle sizes | Inspect the affected heads while the lateral is operating. |
| Pressure difference across a filter | Possible filter restriction | Service the filter according to its component instructions. |
Sources: USDA NRCS National Engineering Handbook, Part 652 Irrigation Guide
5. Set watering by plant demand and keep checking the system
A completed installation still needs a schedule that matches plant needs and the soil's ability to store water. Avoid a schedule that causes runoff or routine overwatering. Recheck delivery over time because nozzle wear, clogging, leaks, and mismatched components can change what the landscape receives. Seasonal drainage and periodic flushing may also be necessary where their triggering conditions apply.
- Adjust the schedule when plant demand or soil conditions change.
- Inspect operating zones periodically, not only when plants show stress.
- Use distribution checks to guide corrections instead of increasing run time blindly.
Sources: USDA NRCS National Engineering Handbook, Part 652 Irrigation Guide
Frequently Asked Questions
Do I need to test water flow before installing sprinklers?
Yes. A flow check helps determine whether the proposed zone and head layout are realistic for the connection. For a hose-connected kit, use that kit's prescribed timed-container method rather than guessing from the size of the hose outlet.
Can every sprinkler in the yard run at once?
Not necessarily. Zones exist so the system can water separate areas without asking the supply to serve an unsuitable number of heads at the same time. Confirm performance with the full operating zone running.
Why are catch containers useful after installation?
They compare the water reaching several points in the irrigated area. That makes uneven distribution visible even when every sprinkler appears to be operating.
What should I check if one area receives less water?
Inspect the full operating zone for leaks, clogged or worn nozzles, and incompatible nozzle sizes. If a filter is present, a pressure comparison across it can help identify a restriction.
Does a sprinkler system need winter preparation?
Where freezing is a hazard, the system needs an appropriate drainage approach. The exact procedure depends on the manufacturer and the installed system, so use the instructions for those components.
Final Thoughts
Install the layout only after the water source, protection requirements, and zones make sense together. Then use an operating-zone check and catch-container comparison to tune the result before relying on an automatic schedule.