
To replace a sprinkler head, turn off the affected zone, uncover the head without harming the pipe, remove the existing assembly, and fit a compatible replacement at the correct ground level. Then run the zone to confirm the spray pattern and coverage. Check first for a clogged nozzle or debris, since replacement may not be necessary.
The key is matching the new head to the existing zone rather than treating any sprinkler head as interchangeable. In my view, recording what is already installed before buying a replacement prevents the most common avoidable coverage problem: a new head that delivers water differently from its neighbors.
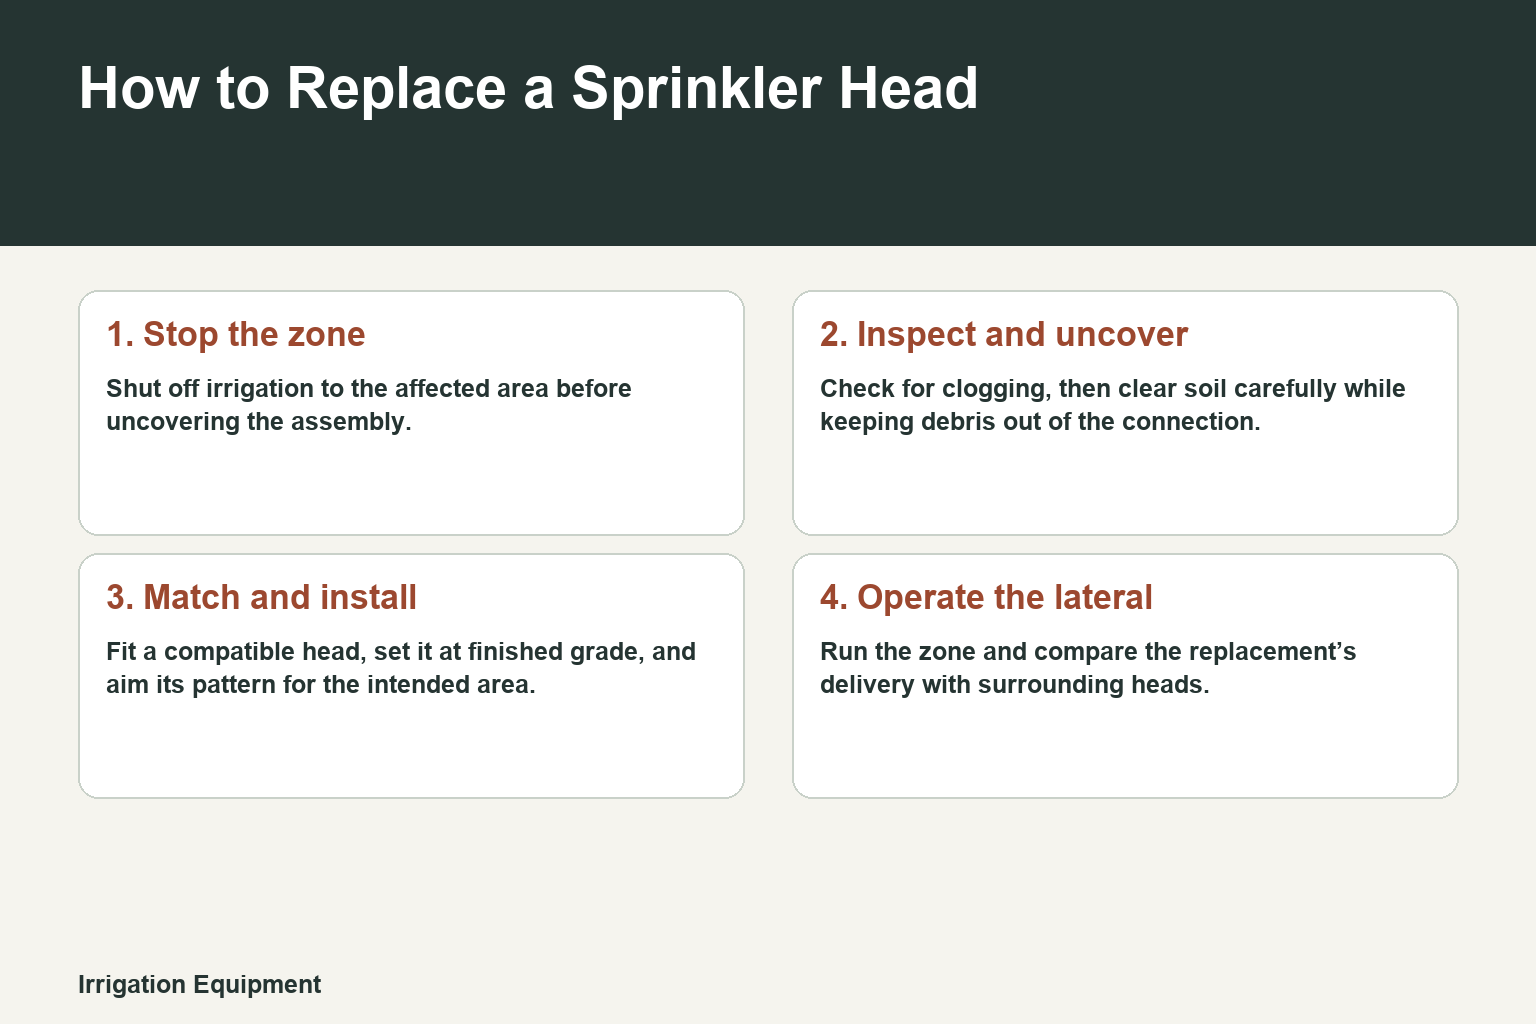
- Stop the zoneShut off irrigation to the affected area before uncovering the assembly.
- Inspect and uncoverCheck for clogging, then clear soil carefully while keeping debris out of the connection.
- Match and installFit a compatible head, set it at finished grade, and aim its pattern for the intended area.
- Operate the lateralRun the zone and compare the replacement’s delivery with surrounding heads.
The pipe remains in place while the sprinkler assembly is exposed and changed; the operating check evaluates the replacement as part of the full lateral.
Decide Whether the Head Needs Replacement
A poor-performing sprinkler is not automatically a failed sprinkler. Inspect the head and nozzle for clogging or accumulated debris first. Also look for obvious leakage or damage while the zone is operating. Nozzle wear, blockage, leaks, and incompatible components can change how water is delivered across the zone.
- Use the operating zone to compare the suspect head with nearby heads.
- Keep soil and loose debris from entering the exposed assembly.
- Replace a damaged head or one that cannot be restored by clearing the obstruction.
Sources: USDA NRCS National Engineering Handbook, Part 652 Irrigation Guide · Rain Bird: Replace a Sprinkler Head
Match the Replacement to the Existing Zone
Choose a replacement that matches the existing head’s intended coverage and installation position. A mismatched head can disturb the balance of pressure, discharge, and distribution across the lateral. Note the existing spray pattern and how the head sits relative to finished grade before removing it.
| Existing feature | Why it matters | What to match |
|---|---|---|
| Spray pattern | Determines where the head applies water | The intended coverage area |
| Position at ground level | Affects whether the head is set correctly | The finished installation grade |
| Behavior of nearby heads | Shows how the zone distributes water together | A replacement compatible with the operating lateral |
Sources: USDA NRCS National Engineering Handbook, Part 652 Irrigation Guide · Rain Bird: Replace a Sprinkler Head
Remove and Install the New Head
With the zone turned off, carefully uncover the sprinkler assembly without damaging the pipe. Remove the old head using the connection arrangement used by that assembly, keep dirt out of the open connection, and install the matched replacement. Set the finished head at the proper grade and orient its spray pattern toward the area it is meant to cover.
- Do not force a connection that does not match the existing assembly.
- Keep the exposed fitting clear until the replacement is in place.
- Before covering the area, leave the head accessible for an operating check.
Sources: Rain Bird: Replace a Sprinkler Head
Run the Zone and Check Coverage
Run the entire operating lateral after installation, not just the replacement head. This makes it easier to spot an incorrect pattern, a leak, or a distribution difference from the surrounding heads. If coverage appears uneven, compare water catch across the area with containers rather than relying only on a visual impression.
| Observation while the zone runs | Likely meaning | Useful next check |
|---|---|---|
| Replacement differs from nearby coverage | Pattern or component may not match the zone | Compare spray direction and replacement compatibility |
| Visible leakage | Water is escaping instead of being delivered as intended | Inspect the installed assembly |
| Several heads perform poorly | The issue may be system-wide rather than one head | Check for sediment accumulation or filter restriction |
Sources: USDA NRCS National Engineering Handbook, Part 652 Irrigation Guide · Rain Bird: Replace a Sprinkler Head
Prevent Repeat Problems
Sediment can contribute to recurring blockage, so use the system’s flushing provisions where sediment accumulates. A pressure check on either side of a filter can help identify a restriction. Where freezing is a hazard, drainage should follow the manufacturer’s recommendations. These system-level issues can affect a new head just as they affected the old one.
Sources: USDA NRCS National Engineering Handbook, Part 652 Irrigation Guide
Frequently Asked Questions
Do I need to replace a sprinkler head if it is not spraying correctly?
Not always. Check for a clogged nozzle or debris first. Replacement is more appropriate when the head is damaged or does not perform properly after the obstruction is addressed.
Why should the replacement match the other heads in the zone?
Heads with incompatible delivery characteristics can alter distribution across the operating lateral. Matching the existing coverage intent helps the zone apply water more consistently.
Should I test only the replacement head?
Run the full zone after installation. Seeing all heads operate together is the useful way to identify a leak, a pattern issue, or a difference from nearby sprinklers.
How can I check whether water is distributed evenly?
Place catch containers across the irrigated area and compare what they collect while the zone runs. This provides a more useful distribution check than appearance alone.
What if a replacement head keeps clogging?
Look beyond the head for sediment management or a restricted filter. Flushing provisions and pressure checks on either side of a filter can help identify the underlying issue.
Final Thoughts
Replace the head only after checking for blockage, match it to the zone, and verify it while the full lateral runs before restoring the soil.